 Bellingham Window
 Siding Installation in Blaine: Why the Install Itself Is the Whole Job
Choosing a siding material is the easy part of a Blaine project. The harder, more consequential part is the installation itself — the flashing details, fastening pattern, and moisture-management layers that decide whether that material performs for thirty-plus years or starts showing trouble in five. Blaine sits right at the water, close enough to Semiahmoo Bay and Drayton Harbor that salt air, wind-driven rain, and a long moss season are part of daily life for most homes in town, not just the ones with a water view. That combination punishes a mediocre installation faster than it would inland, which means the margin for shortcuts on a Blaine siding job is thinner than almost anywhere else in Whatcom County.
This page is specifically about the installation process — what has to happen underneath and around the siding for it to actually hold up here, what our crew does step by step, and why hiring a crew that already works this stretch of coastline regularly changes the outcome. If you're still comparing siding materials, that's a separate conversation; here we're assuming James Hardie fiber cement, which is the only siding system we install, and walking through what putting it on a Blaine house correctly actually involves.
What Blaine's Climate Demands From an Installation
Salt Air, Direct and Daily
Homes near the bay and harbor take a steady dose of salt-laden air, and salt accelerates corrosion on fasteners, flashing, and any exposed metal trim faster than it would twenty miles inland. An installation that uses the wrong fastener grade or skips corrosion-resistant flashing might look fine on day one and still fail early, because the damage happens gradually, behind the siding, where nobody sees it until paint starts bubbling or trim starts staining.
Driving Rain Off the Water
Storms coming off the water rarely drop rain straight down on a Blaine house — wind pushes it sideways into siding joints, window flashing, and the transitions where a roof meets a wall. That wind-driven load is exactly why house wrap laps, flashing sequencing, and caulking at penetrations matter more here than in a calm inland climate. Rain that would run harmlessly off a wall elsewhere gets driven into gaps a careless installation would leave behind.
A Long Moss and Moisture Season
Mild temperatures and near-constant moisture add up to a moss and mildew season that can run close to year-round on shaded or north-facing walls, particularly on tree-sheltered Blaine lots. Any installation that traps moisture against the substrate instead of letting the wall assembly breathe and drain gives moss and rot a head start. Proper rainscreen gapping and drainage planes matter as much as the siding material itself.
What's Underneath Matters as Much as What You See
A siding installation is really a moisture-management system with a finished surface on top of it. On a Blaine home, we treat the layers underneath the visible siding as seriously as the siding itself:
- Tear-off and substrate inspection: Removing old siding exposes sheathing, and any rot or soft spots found during tear-off get addressed before anything new goes on — covering a compromised substrate just hides the problem.
- Water-resistive barrier: A properly lapped house wrap or building paper, installed shingle-style so water sheds outward and down, not into seams.
- Flashing at every penetration: Windows, doors, vents, hose bibs, and light fixtures all need integrated flashing so wind-driven rain can't work its way behind the cladding at those transition points.
- Rainscreen or drainage gap: A small air gap behind the siding lets any moisture that does get past the outer layer drain and dry out instead of sitting against the sheathing.
- Correct fastening: Hardie specifies fastener type, spacing, and placement for a reason — over-driven or under-driven nails, or the wrong fastener material near salt air, are among the most common causes of early failure.
Why We Install Only James Hardie Fiber Cement
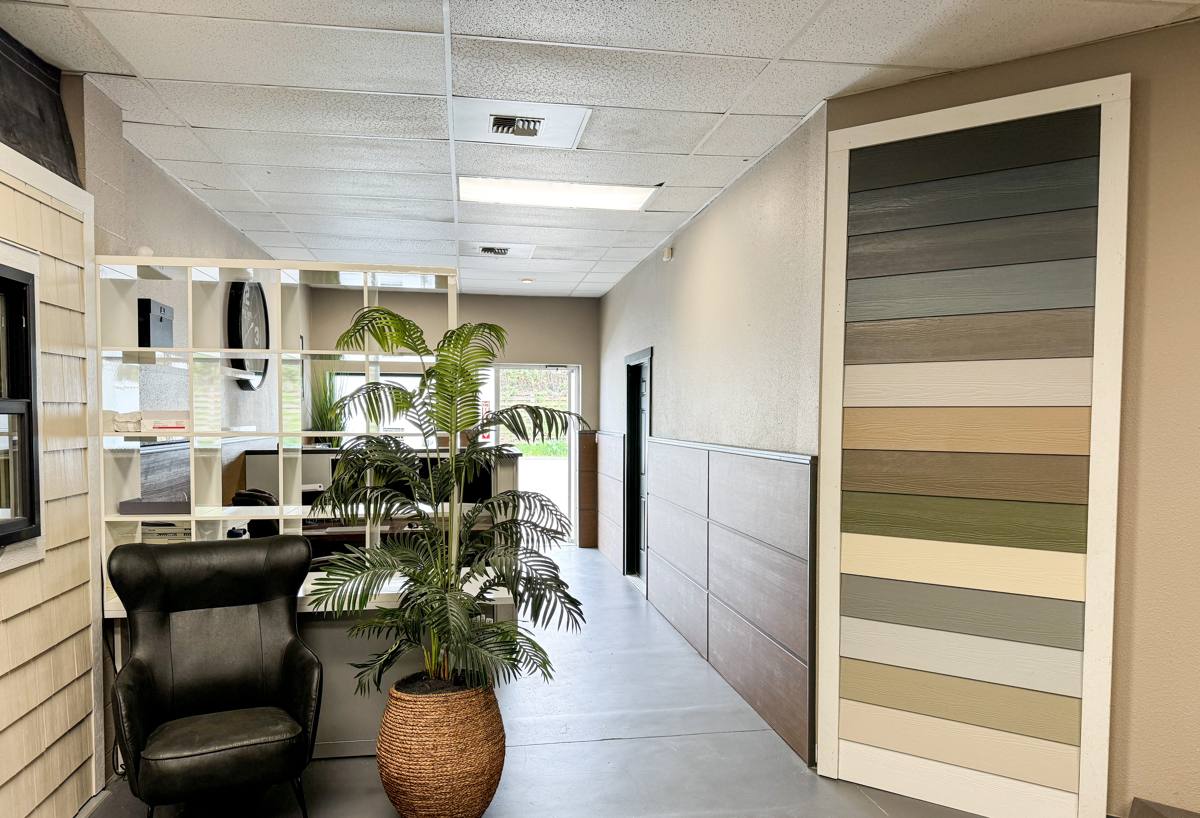
We narrowed our siding offering to one system after seeing, on tear-offs and service calls across this part of the county, what actually holds up in sustained marine exposure versus what looks good on a spec sheet. James Hardie's fiber cement gives us a non-combustible core that doesn't feed a fire the way wood-based siding products can, a factory-applied ColorPlus finish that's baked on under controlled conditions rather than brushed on in the field, and HZ product lines engineered for regions with sustained moisture and freeze-thaw cycling — which describes coastal Whatcom County well. It's dimensionally stable, so it doesn't swell, cup, or warp the way engineered wood can after repeated wet-weather exposure, and it carries a strong transferable warranty when installed to spec.
We won't install LP SmartSide, vinyl siding, Cemplank, Allura, primed spruce, or cedar. Each has a place in the market, and homeowners elsewhere are happy with them. But in a town where salt air and driving rain are close to constant, we made a professional call to install one system we fully stand behind — and to make sure the installation matches the product's engineering, not just its label.
Our Installation Process, Step by Step
- On-site assessment: We look at the whole exterior, not just the siding — water intrusion often traces back to roofline flashing, window seals, or grading around the foundation.
- Written estimate and material plan: Product line, profile, and color get specified up front, along with a realistic timeline based on the scope and season.
- Tear-off and substrate check: Old siding comes off, and any rot, soft sheathing, or hidden moisture damage gets identified and repaired before moving forward.
- Weather barrier installation: House wrap or building paper goes on lapped correctly, shingle-style, with seams sealed against wind-driven rain.
- Flashing at all penetrations: Windows, doors, and other openings get integrated flashing before trim and siding go on around them.
- Rainscreen and fastening: Drainage gap material where called for, then Hardie boards fastened to manufacturer spec — correct nail type, spacing, and depth.
- Trim, caulking, and touch-up: Factory-finished ColorPlus product minimizes field painting, but trim, cut edges, and caulk joints still get finished carefully.
- Final walkthrough: We go over the completed job with the homeowner before calling it done.
Installation Details: What Separates a Job That Lasts From One That Doesn't
| Detail | Correct Approach | Common Shortcut |
|---|---|---|
| Fastener spacing | Per Hardie spec, consistent, corrosion-resistant near salt air | Wide or inconsistent spacing to save labor time |
| House wrap laps | Shingle-lapped, taped seams, integrated with flashing | Stapled loosely, seams left unsealed |
| Window and door flashing | Fully integrated with the water-resistive barrier | Caulk relied on alone, with no flashing behind it |
| Bottom clearance | Minimum clearance from grade, decks, and roof lines per spec | Siding installed tight to grade or hardscape, trapping moisture |
| Board gaps and caulking | Manufacturer-specified gaps, caulked correctly for expansion | Boards butted tight or gaps left uncaulked |
Cost Factors for a Blaine Siding Installation
Every Blaine home is different, so we won't quote a number without seeing the property, but the factors that move a project's cost are consistent:
| Factor | Why It Matters |
|---|---|
| Extent of tear-off and substrate repair | Rot or water damage found underneath old siding adds repair scope before new siding can go on |
| Home size and wall complexity | More corners, dormers, and trim details mean more labor and material cuts |
| Siding profile and trim package | Lap width, shake accents, and trim style all affect material cost |
| Access and site conditions | Tight lots, water-facing elevations, or difficult staging add time |
| Window and door count | Every penetration needs flashing work, which adds labor |
What to Expect During the Project
A full siding installation on an average Blaine home typically runs from a few days to a couple of weeks, depending on size and how much substrate repair the tear-off uncovers. Weather is a real factor here — we plan around Whatcom County's wet season where we can, since a weather barrier and flashing need to go in during dry working windows to do their job properly. Homeowners should expect some noise, staging materials in the yard or driveway, and a walkthrough at the end where any final touch-up items get identified before the crew leaves.
Why Hiring a Crew That Already Works Blaine Matters
A siding crew that mostly works inland jobs and takes the occasional Blaine project isn't wrong to do so, but they're less likely to have internalized how much harder this town's coastal exposure is on an installation than a typical Whatcom County job. Working this coastline regularly means we've seen what happens when flashing is skipped or fasteners are wrong for salt exposure — not in theory, but on real tear-offs — and that shapes decisions on every project going forward.
- Familiarity with how wind-driven rain actually behaves against Blaine's water-facing elevations
- A track record of catching substrate damage during tear-off before it becomes a bigger problem
- Consistent use of correct fastener and flashing materials for salt air exposure
- An understanding of how moss and moisture pressure vary across a single Blaine property, water-facing side versus shaded side
- A single-material standard, so there's no incentive to steer a homeowner toward a cheaper product that shifts maintenance risk onto them later
If you're planning a siding installation in Blaine, we're happy to take a look at your home and walk you through what the job would actually involve — no pressure, no obligation. Fill out the form below to get a free estimate.