 Bellingham Window
 Siding Repair in Barkley: What's Actually Going Wrong
Barkley sits inside Whatcom County's core weather pattern, and that pattern doesn't leave siding alone. Salt-tinged air drifting off the water, rain that gets pushed sideways by wind more often than it falls straight down, and a moss season that runs longer here than in drier parts of the state all put steady, cumulative stress on a home's exterior. None of it looks dramatic in any given week. A siding repair call in Barkley is rarely about one obvious event — it's about years of small exposure finally showing up as a soft board, a failed seam, or a stretch of green staining that won't scrub off.
That distinction matters because it changes how a repair should be scoped. Siding damage caused by a one-time impact is a different job than siding damage caused by years of moisture working into a seam or fastener point. This page covers what typically goes wrong with siding in Barkley, how to tell a cosmetic issue from a real one, what a correct repair actually involves, and why a crew that already works this specific pocket of Whatcom County catches things a generalist might miss.
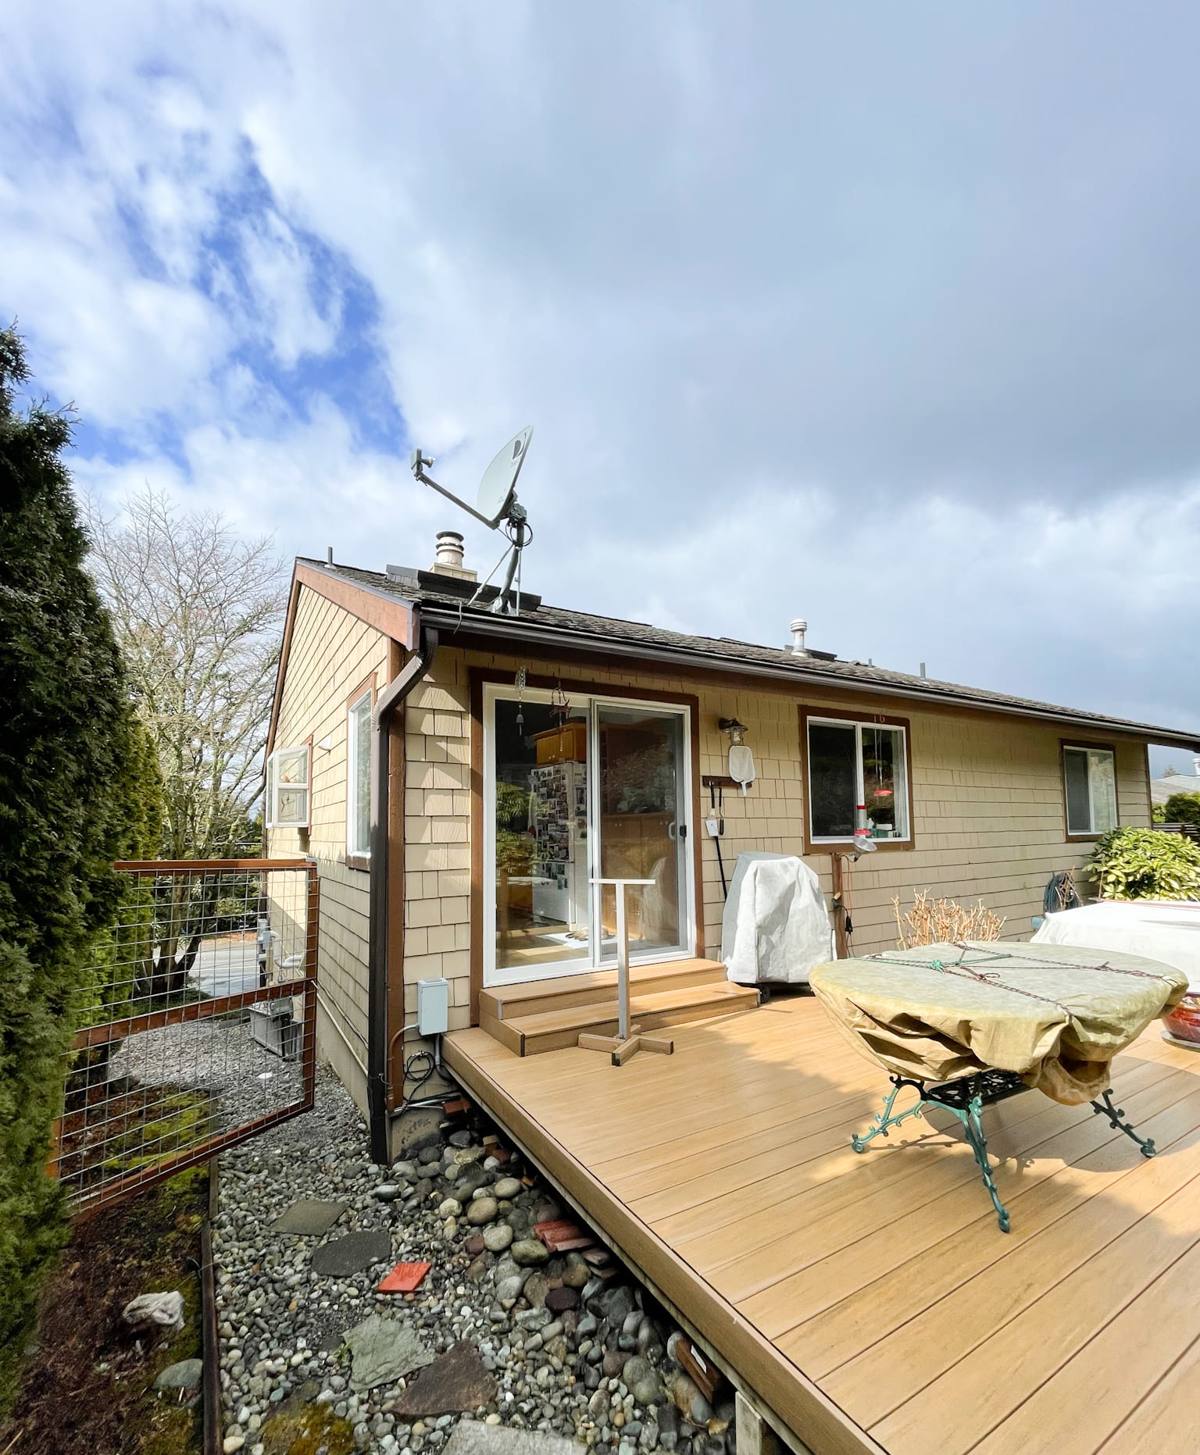
What Salt Air, Driving Rain, and a Long Moss Season Do to Siding
Salt Air and Fastener Corrosion
Salt-laden air doesn't need to be blowing hard to do its work — it settles onto exposed metal steadily, and it keeps painted and coated surfaces wet longer than they'd stay in a drier inland climate. Fasteners, trim flashing, and hardware corrode faster under that kind of exposure, and a corroding fastener rarely announces itself before it's already lost holding strength. What shows up on the surface — a slightly lifted board edge, a rust streak below a nail head — is usually the visible tail end of a problem that's been developing underneath for a while.
Wind-Driven Rain at Laps, Seams, and Trim
Rain that's pushed sideways behaves differently than rain that falls straight down. It gets forced up under laps, into butt joints, and around trim and window transitions that a calmer climate wouldn't stress nearly as hard. Flashing details and clearances that would be adequate somewhere drier start to matter a great deal more here, because wind-driven water finds every gap that wasn't detailed correctly the first time — and it finds it repeatedly, storm after storm, not just once.
Moss, Mildew, and Sustained Dampness
Shaded walls, north-facing exposures, and anything under tree cover stay damp for long stretches through fall, winter, and much of spring, which is exactly the condition moss and mildew need to take hold. On wood-based or wood-look siding, that ongoing dampness isn't just a cosmetic problem that shows up as green staining — sustained moisture against an absorbent material eventually leads to softening, swelling, and rot at edges, seams, and fastener points, usually starting from the inside of the board out.
Cosmetic Wear vs. Damage That Needs Real Repair
Not every mark on a wall means the same thing, and telling the difference correctly is the actual job of a repair estimate — not just deciding to replace whatever looks bad.
| Symptom | Usually Cosmetic | Often Needs Repair |
|---|---|---|
| Green or black staining on the surface | Yes — surface moss or mildew, cleanable | Only if the board underneath is also soft |
| Faded or chalky paint finish | Yes — UV and weathering over time | Rarely on its own |
| Soft or spongy spot when pressed | No | Yes — moisture damage underneath, needs attention |
| Gap or separation at a seam or corner | Sometimes — minor caulk failure | Often — water is likely getting behind the siding |
| Rust staining below a fastener | Cosmetic if isolated | Can mean the fastener itself has lost holding strength |
| Bubbling or peeling paint in one spot | Rarely | Usually — trapped moisture pushing out from behind the board |
Cosmetic issues can generally wait for routine maintenance. Anything soft to the touch, gapping at a seam, or bubbling from underneath is a sign that moisture has already gotten past the surface, and that's the kind of damage that gets worse — not better — the longer it sits.
How We Diagnose Siding Before Recommending Any Repair
A repair estimate that's actually useful starts with a real inspection, not a guess from the driveway. For a Barkley home, that typically includes:
- Pressing and probing suspect boards to find soft spots that aren't visible from the surface
- Checking seams, corners, and butt joints for gaps that could be letting wind-driven rain behind the siding
- Inspecting flashing above windows, doors, and any horizontal trim, since failed flashing is one of the most common hidden causes of siding damage
- Looking at fastener condition, especially on walls that face prevailing wind and rain
- Checking shaded and north-facing walls specifically for moss growth and prolonged dampness
- Assessing whether damage is isolated or spread across a wall, which changes whether a patch repair or a larger section replacement makes more sense
We walk through what we find plainly — what needs attention now, what can be watched, and what's purely cosmetic — before recommending a scope of work or a price.
Repair vs. Replace: How That Decision Actually Gets Made
Homeowners often assume any siding problem means a full re-side, or the opposite — that a patch will always be the cheaper, equally good answer. Neither assumption holds up consistently. The factors that actually drive this decision:
- How much of the wall is affected. Isolated damage at one seam or a handful of boards is usually a straightforward repair. Damage spread across a wall, or showing up in multiple unrelated spots, often points to a systemic moisture or flashing issue that a series of patches won't solve.
- What the siding is repaired into. If the existing material is aging, discontinued, or was never a great fit for this climate to begin with, a repair may only buy a few more years before the same failure shows up nearby.
- Whether the cause has been fixed. A repair that replaces a damaged board without correcting the flashing or gap that let water in will likely fail again in roughly the same spot.
- Age and remaining service life of the rest of the siding. Siding nearing the end of its practical life may only have so many repair cycles left before a full re-side is genuinely the more cost-effective path.
We'll give a straight answer on which category a given home falls into, including when a targeted repair is honestly the right call and a full re-side would be overkill.
Why We Only Repair Toward James Hardie Fiber Cement
We don't install vinyl siding, LP SmartSide, primed spruce, cedar, or other fiber cement brands — that's a professional standard we hold ourselves to, not a limit on what we're capable of doing. It shapes how we approach repair work too. When a repair calls for replacing more than a small patch of existing non-Hardie material, we'll say so honestly and explain the trade-offs rather than just patching over a product that's likely to keep needing attention in this climate.
The products that tend to struggle over the long run in a salt-air, high-rain, long-moss environment share a common thread: they either absorb moisture directly, rely on a field-applied or factory coating to keep water out indefinitely, or expand and contract enough with temperature and humidity swings that seams gradually work themselves open. James Hardie fiber cement is engineered specifically against that kind of exposure — it's non-combustible, it doesn't swell or feed moss the way wood-based siding can, and its ColorPlus factory finish is warrantied against the fading and chalking that constant moisture and UV cycling cause over time. Hardie also builds climate-specific HZ formulations rather than one generic board, which matters in a region that sees this much sustained dampness.
What This Means for a Repair on Existing Non-Hardie Siding
A small, isolated repair on existing vinyl, wood, or engineered wood siding is often still the sensible, honest answer — we're not going to talk a homeowner into re-siding a whole wall over one damaged board. But when the damage is repeat or widespread enough that we'd be patching the same underlying material problem over and over, we'll say plainly that a transition to Hardie in that section, or eventually the whole elevation, is the more durable long-term fix, and explain why before recommending it.
What a Correct Repair Involves
Matching Board Profile, Color, and Fastening
A repair should be nearly invisible once it's done. That means matching the existing board's profile and reveal, using the correct fastener type and spacing for the material, and, on painted or factory-finished siding, getting as close a color match as the product line allows. On older siding, an exact match isn't always possible, and we'll be upfront about that before starting rather than after.
Flashing and Water Management, Not Just the Visible Board
Replacing a damaged board without addressing what let water behind it in the first place is the most common way a repair fails again. Correct repair work checks and corrects flashing at window heads, trim transitions, and horizontal laps as part of the scope — not as an afterthought — because in a climate with this much wind-driven rain, the water management behind the siding matters more than the board itself.
Repairing Existing James Hardie Siding
For homes that already have James Hardie siding, repair is generally the most straightforward case — damaged boards can typically be cut out and replaced cleanly, and ColorPlus finishes are designed to hold a consistent color over time, which makes matching an existing section more reliable than with field-painted materials. Even here, we check the cause of the damage rather than assuming a board simply failed on its own, since impact damage, a flashing issue, or a fastener problem all call for a slightly different fix.
Maintenance That Extends a Repair's Lifespan in Barkley's Climate
- Rinse siding periodically to remove salt residue and organic buildup before it works into seams and fastener points
- Trim back landscaping that shades a wall or traps moisture against the siding, especially on north-facing exposures
- Check caulking at trim, window, and door transitions annually, since caulk failure is often the first sign of a seam that needs attention
- Address soft spots, gaps, or bubbling paint right away rather than waiting for the next scheduled look — these get worse with every wet season, not better
- Keep gutters and downspouts clear so roof runoff isn't dumping extra water onto siding below
- Have shaded or historically damp walls checked for moss a little more often than the rest of the house
Why It Matters That We Already Work Barkley
A crew that occasionally repairs siding in this area can still do competent work, but a Barkley repair has variables that come up more often here than elsewhere in Bellingham — exposure patterns tied to prevailing wind and rain direction, shaded lots that hold moss longer, and older siding runs that were installed before some of today's flashing standards were common practice. Working this neighborhood regularly means we're not guessing at those patterns or learning them mid-project. We know what a repeat failure at the same wall usually means, what fastener and flashing detail actually holds up through a full Whatcom County wet season, and when a small patch is genuinely the right call versus when it's just delaying a bigger fix.
That familiarity also means a more accurate first estimate, with less back-and-forth once the work is underway, because the inspection accounted for how this specific climate and this specific neighborhood behave rather than applying a generic checklist built for somewhere drier.
Get an Honest Look at Your Siding
Whether you're dealing with one damaged section, a recurring problem in the same spot, or just want a straight read on where your siding stands after another wet season, we're glad to take a look and tell you plainly what we find — including when the honest answer is that it doesn't need much yet. Reach out below for a free, no-pressure estimate.