 Bellingham Window
 Birch Bay Homes Take a Different Kind of Weather Beating
Birch Bay sits right on the water, and that changes what a wall actually has to survive. A few miles inland in Bellingham, siding deals with the standard Pacific Northwest mix of rain and damp shade. On the bay, you add salt-laden air blowing off the water, wind-driven rain that hits walls sideways instead of falling straight down, and a moss and algae season that runs longer than it does on higher, drier lots. None of that is exotic or rare — it's just consistent, and consistent is what wears siding out.
We install siding across Whatcom County, and Birch Bay projects get evaluated differently from the start. The exposure, the wind direction relative to the house, and how close the structure sits to the water all factor into how we detail the job. This page walks through what that actually means for a homeowner deciding what to put on their walls.
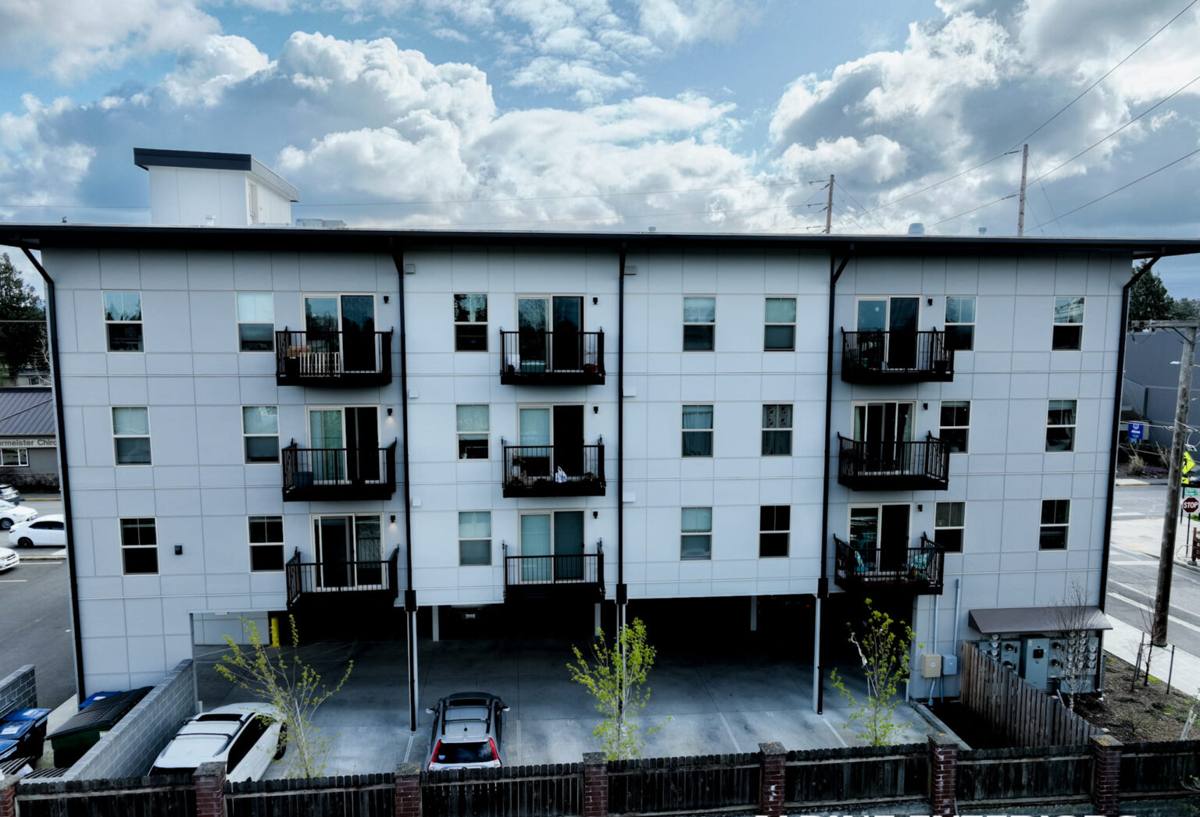
What Salt Air and Driving Rain Actually Do to a Wall
Salt air isn't just a smell. Airborne salt is corrosive to exposed metal fasteners, trim flashing, and hardware, and it accelerates the breakdown of finishes that aren't built to handle it. Over years, that shows up as rust streaking, failing caulk joints, and paint that chalks and fades faster than the same product would inland.
Wind-driven rain is the bigger structural concern. On a calm day, water runs down a wall and sheds. In a Birch Bay windstorm, rain gets pushed sideways and upward, which means it can find its way behind laps, into butt joints, and around poorly flashed penetrations that would stay dry on a more sheltered lot. Once moisture gets behind the siding, what happens next depends entirely on whether there's a working drainage plane underneath — which is the part most homeowners never see and most siding failures actually come from.
Layer in a long moss and algae season — cool, damp, and shaded conditions that stick around longer near the water — and you get a wall system that needs to manage bulk water, resist salt corrosion, and dry out reliably between storms, all at the same time.
What a Correct Siding Installation Involves Here
The Water-Management System Behind the Siding
Siding is the visible layer, but it's not the only layer doing the work. A correct installation starts with a weather-resistive barrier installed shingle-style so water sheds outward, properly lapped and sealed seams, and — on a wind-and-salt-exposed elevation like a Birch Bay waterside wall — a rainscreen gap that lets any water that does get behind the cladding drain and evaporate instead of sitting against the sheathing. Skipping the rainscreen is one of the most common corner-cuts in siding work, and it's the one that costs the most down the road because the damage happens invisibly, behind the wall.
Fastening and Flashing Details That Matter on the Waterfront
Every penetration — windows, doors, hose bibs, light fixtures, vents — is a place water can get in if it's not flashed correctly. On exposed elevations we pay extra attention to head flashing above windows and trim, kick-out flashing where roof lines meet walls, and corrosion-resistant fasteners driven to the manufacturer's spacing and depth, not just "close enough." In a salt-air environment, the wrong fastener corrodes and stains the siding around it within a few years; the right fastener, installed at the correct depth, doesn't.
Why We Install James Hardie on Birch Bay Homes
We install James Hardie fiber cement siding exclusively. We don't install vinyl, LP SmartSide, Cemplank, Allura, primed spruce, or cedar, and on a project like this — a home taking direct salt air and driving rain off the water — the reasoning is straightforward.
Fiber cement is dimensionally stable and doesn't expand and contract with moisture and temperature the way wood-based or engineered-wood products do, which matters when a wall is cycling between soaked and dry more often than an inland wall. It's also non-combustible, which is a real consideration anywhere in Whatcom County given regional wildfire smoke seasons, and it holds a factory-applied ColorPlus finish that's baked on and warrantied against fading — a meaningful advantage over field-applied paint, which has to be maintained and repainted on its own schedule, especially with the extra UV and salt exposure a waterfront wall sees.
Hardie also makes climate-engineered product lines (their HZ designations) formulated for different moisture and freeze exposure levels, so the product spec can actually match the site rather than being one generic board used everywhere.
| Factor | Vinyl | Wood / Engineered Wood | James Hardie Fiber Cement |
|---|---|---|---|
| Salt air exposure | Can become brittle and discolor over time | Vulnerable to moisture wicking at edges and joints | Stable; not organic, doesn't rot |
| Wind-driven rain | Relies heavily on lap and J-channel seal quality | Swells/warps if water gets behind it | Dimensionally stable when installed with proper drainage plane |
| Moss/algae season | Surface growth, harder to clean without damage | Growth can trap moisture against the substrate | Resists moisture absorption; finish holds up to cleaning |
| Fire exposure | Combustible | Combustible | Non-combustible core |
| Finish longevity | Color molded in, can fade/chalk | Field-applied paint, needs repainting | Factory ColorPlus finish, warrantied against fade |
Our Installation Process
Every job follows the same sequence, whether it's a full tear-off or a section replacement:
- Site and exposure assessment. We walk the home and note which elevations take the worst weather, existing moisture or rot damage, and any flashing or drainage issues already present.
- Tear-off and substrate inspection. Old siding comes off and we check the sheathing underneath for hidden water damage before anything new goes up. This step catches problems a visual estimate from outside can't.
- Weather-resistive barrier and rainscreen. Housewrap or building paper goes on shingle-lapped, followed by a drainage gap on exposed elevations.
- Flashing at every penetration. Windows, doors, and any wall penetrations get properly integrated flashing before siding covers them.
- Hardie panel or lap installation. Installed to manufacturer fastening specs — correct nail type, spacing, and penetration depth — with proper clearance at grade and roof lines.
- Trim, caulking, and touch-up. Factory-finished ColorPlus product means minimal field painting, mostly limited to cut edges and touch-up per Hardie's specs.
- Final walkthrough. We review the finished work with the homeowner and point out anything they should keep an eye on going forward.
Signs Your Current Siding Is Losing the Fight
Homes near the bay tend to show wear in specific ways. Worth checking for:
- Soft or spongy spots when you press on the siding, especially near the bottom courses or window sills
- Persistent moss or dark streaking that comes back quickly after cleaning
- Rust staining running down from fasteners or trim
- Paint that's chalking, peeling, or fading faster than you'd expect for its age
- Visible gaps, warping, or separation at seams and corners
- A musty smell or discoloration on interior walls that back up to exterior siding
Any one of these on its own isn't necessarily an emergency, but a couple together — especially soft spots plus interior discoloration — usually means moisture has been getting behind the siding for a while.
Moss Season and Long-Term Maintenance
Even with the right product installed correctly, a Birch Bay home benefits from a little seasonal attention. Rinsing siding periodically, keeping gutters clear so water isn't sheeting down walls, and trimming back vegetation that keeps siding shaded and damp all extend the life of the finish. Hardie's factory finish resists moss and algae better than field-painted wood products, but it isn't immune to the same shaded, damp conditions that grow moss on a roof or a fence — it just holds up to cleaning without the finish degrading the way a repainted surface would.
Why a Crew That Already Works Birch Bay Matters
Detailing a wall for wind-driven rain and salt exposure isn't something you improvise from a general install manual. A crew that's already worked the area knows which elevations of a Birch Bay lot typically take the worst weather, how local wind patterns tend to drive rain into corners and penetrations, and where the previous generation of siding on homes like this usually failed first. That local pattern recognition shows up in small decisions — where to add extra flashing, how tight to run seams on the water-facing side, which fastener spacing to use on the worst-exposed wall — that a crew unfamiliar with the area might not think to adjust for.
It also means straightforward logistics: a local crew can be on site quickly for the walkthrough, the install, and any follow-up, without travel time built into the schedule or price.
Cost Factors for a Birch Bay Siding Project
Every home is different, but the same handful of factors drive most of the cost variation we see on jobs in this area:
| Factor | Why It Matters |
|---|---|
| Home size and wall complexity | More corners, dormers, and cutouts mean more material and labor time |
| Substrate condition | Rot or water damage found during tear-off adds repair work before new siding goes up |
| Exposure level | Waterfront-facing walls often get upgraded flashing and rainscreen detailing |
| Existing siding type | Removal complexity varies between vinyl, wood, and other materials |
| Trim and accessory work | Fascia, soffit, and trim replacement alongside siding affects total scope |
| Access and staging | Waterfront lots and steep sites can affect scaffolding and material staging |
We don't publish a flat per-square-foot number because the substrate condition and exposure detailing genuinely change the scope from house to house — but we'll walk the home, explain what we find, and give a clear written estimate before any work starts.
Ready to Talk About Your Birch Bay Home
If your siding is showing wear, or you're planning ahead before the next storm season, we're happy to come take a look. The estimate is free, there's no pressure, and you'll get a straight answer about what your home actually needs — use the form below to get started.