 Bellingham Window
 Building New on South Hill: What the Climate Actually Demands
South Hill sits up above downtown Bellingham with open exposure toward the bay, which is exactly the kind of spot where marine weather shows up first and hardest. Homes built or added onto up here catch wind off the water, take driving rain straight into wall assemblies during winter storms, and sit under the same long gray stretch of damp, low-sun months that grows moss on every north-facing surface in Whatcom County. None of that is unique to South Hill, but the elevation and exposure mean it's more pronounced than it is a few blocks down toward sea level.
For a new-construction window install, that matters more than people expect. A window is only as good as the opening it sits in and the flashing that ties it into the wall. Get that wrong on a hillside lot with wind-driven rain, and the problem doesn't show up on day one — it shows up two or three wet seasons later, as a stain on drywall or soft trim nobody can explain. Our approach on South Hill jobs is built around preventing that, not fixing it after the fact.
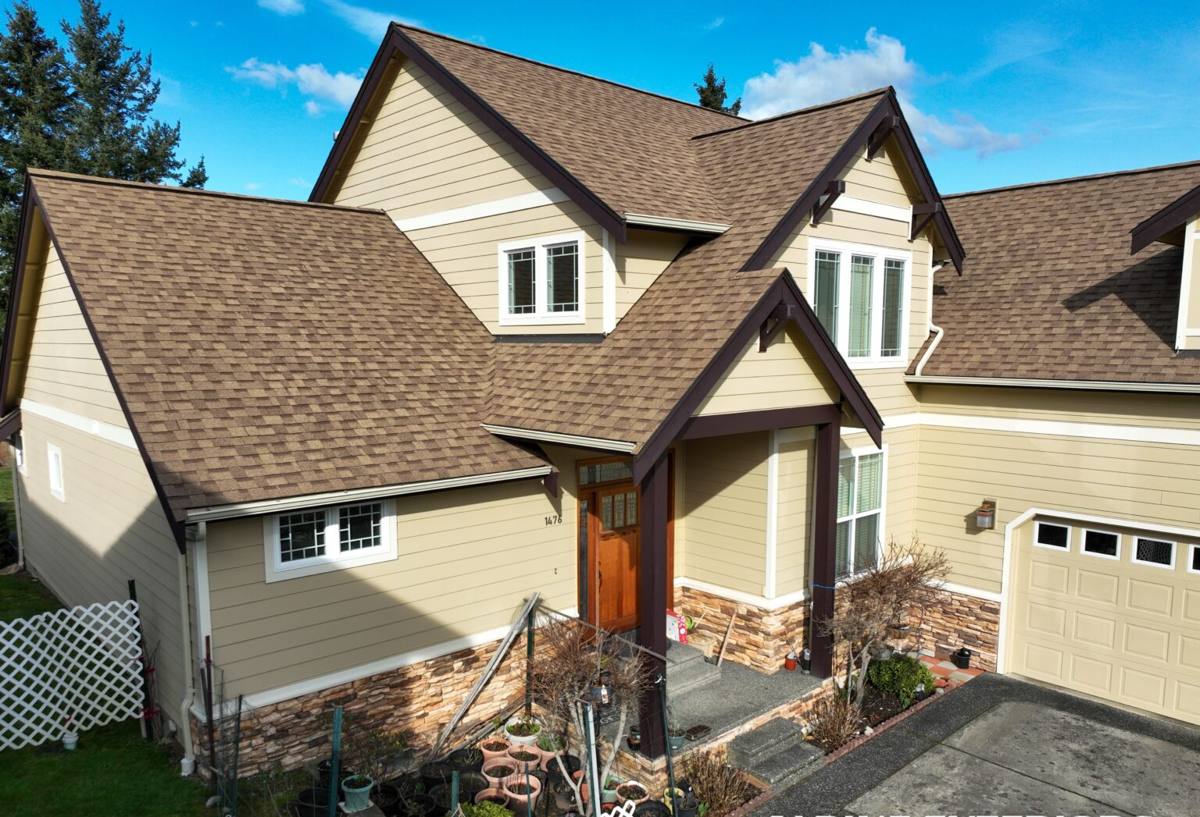
New Construction vs. Replacement: Why the Job Is Different
A lot of homeowners assume window work is window work. It isn't. Replacement work fits a new unit into an existing, already-flashed opening — the job is about matching dimensions and not disturbing what's already sealed. New construction is the opposite: we're building the water management system from scratch, in coordination with the framer, the weather-resistive barrier (WRB) installer, and whoever is doing the siding or trim.
That means new-construction windows are typically nail-fin units set before or during the siding sequence, flashed in a specific shingle-lap order so water sheds down and out no matter which direction the wind is pushing it. There's no room for "close enough" here — every layer has to be installed in the right order, because once the siding goes on, the flashing underneath it is invisible until there's a leak.
What This Means for Your Project
- Windows need to be ordered against actual rough openings from the framing, not just the plan set — framing tolerances vary.
- Install timing has to be coordinated with your builder's schedule; windows generally go in after the WRB and before final siding.
- Sill and jamb flashing decisions are made once, at rough-in — there's little chance to correct them later without opening up the wall.
Getting the Rough Opening Right
Most window failures we get called out to fix — on any house, not just new builds — trace back to the rough opening, not the window itself. On a new build we get to control this from the start, which is the real advantage of bringing in a window crew early instead of treating windows as an afterthought once the shell is closed in.
Before we set a single unit, we check that openings are square, plumb, and sized correctly for the specified window with the right shim gap all around. We also check that the sill is sloped slightly to the exterior — a flat or back-pitched sill is one of the most common ways water gets trapped against wood framing, and on an exposed hillside lot that gets real rain volume, a trapped-water detail will eventually fail.
Flashing and Water Management: The Non-Negotiable Detail
This is the part of new-construction window work that never shows once the house is finished, and it's the part that matters most. Our sequence, in order, generally looks like this:
- Self-adhered sill pan flashing set into the rough opening, lapped so any water that gets past the window drains back out over the WRB, never behind it.
- Window set, leveled, and fastened per the manufacturer's instructions — screws or nails in the schedule they specify, not a generalized pattern.
- Jamb flashing lapped over the sill pan legs.
- Head flashing lapped over the jamb flashing, with the WRB above lapped over the head flashing.
- Backer rod and exterior sealant at the trim line, sized and tooled correctly — sealant is a backup to good flashing, not a substitute for it.
Skipping the order, or using tape and sealant as a shortcut instead of true shingle-lapped flashing, is exactly the kind of shortcut that survives inspection but not three winters of Bellingham rain. We flash every opening the same way whether it's a single window or a whole new elevation of glass.
Choosing Frame Material and Glass for a Marine Climate
New construction gives you a real choice of frame material, since you're not constrained by an existing opening. The right answer depends on budget, exposure, and how much upkeep you want to take on. Here's how the common options stack up for a house in this climate:
| Frame Material | Moisture & Salt-Air Tolerance | Maintenance | Typical Cost Tier |
|---|---|---|---|
| Vinyl | Good — won't rot or corrode, but can discolor over many years of UV and damp exposure | Low — occasional cleaning | Entry to mid |
| Fiberglass | Very good — dimensionally stable in temperature swings, resists moisture well | Low | Mid to upper-mid |
| Aluminum-clad wood | Good on the exterior face; interior wood needs the cladding to stay intact to avoid moisture reaching it | Moderate — clad face is low-maintenance, interior wood benefits from periodic finish care | Upper |
| Bare wood | Weakest in this climate unless finish is maintained rigorously — driving rain and long damp stretches are hard on exposed wood | High | Upper |
We don't push one material on every job. What we do push back on is bare, unclad wood on exposed, weather-facing walls up here — it's not that the product is bad, it's that this climate's rain load and moss season punish any finish maintenance gap, and the repair cost when that happens is high. If a design calls for a wood look, clad options give you that appearance without the same maintenance exposure.
On glass, we also pay attention to condensation resistance, not just U-factor. A well-insulated new home with tight air sealing can actually see more interior condensation on glass than an older, leakier house, especially in bathrooms and bedrooms during our cold, damp winters. Glass package and room-by-room ventilation planning go together — we'll flag it if a design seems likely to have condensation issues before the windows go in, not after.
Meeting Washington's Energy and Safety Code
New construction windows in Whatcom County have to meet Washington State's energy code minimums for U-factor and, in some cases, solar heat gain, along with life-safety requirements — egress sizing for bedroom windows, tempered glass near doors and in wet locations, and fall-protection rules for upper-floor windows low to the floor. These aren't optional upgrades; they're pass/fail items at inspection.
Because we work new construction regularly in this area, we cross-check the window schedule against code requirements before ordering, not after the inspector flags something. Catching an egress or glazing spec issue on paper is a phone call. Catching it after the units are installed is a re-order and a schedule delay for your builder.
How We Work With Your Builder or General Contractor
On most new-construction jobs we're one trade in a sequence somebody else is managing. We take that seriously — our job is to fit into the schedule cleanly, not create bottlenecks. That typically looks like:
- Reviewing the window schedule and plans directly with your builder or GC before ordering, so quantities, sizes, and configurations match what's actually being framed.
- Verifying rough openings against the order before the units arrive, so we catch framing discrepancies early instead of at install.
- Coordinating install timing with the WRB and siding crews so flashing laps happen in the right order.
- Being available for the final inspection walk if questions come up about the flashing detail or glazing spec.
If you're an owner-builder managing your own trades, we'll walk you through this same sequence in plain terms so you know what to expect from us and what we need from the framing and siding crews on either side of us.
Before Install Day, Confirm These
- Rough openings have been framed to the sizes on the approved window order — not just the original plan set.
- WRB is installed and inspected up to the point where our flashing needs to lap into it.
- Sill areas are clean, dry, and free of debris or standing water from recent rain.
- Egress and tempered-glass locations match what the building department approved.
- Someone with authority to make quick calls (builder, GC, or owner) is reachable during install in case a framing issue turns up.
Timeline and What to Expect
Lead time on new-construction windows usually runs several weeks from order to delivery, longer for custom sizes or configurations, so this is a step that needs to be locked in early in your build schedule rather than decided the week framing finishes. Install itself, once units are on site and openings are confirmed, generally moves at a steady pace — most single-family builds are a matter of days, not weeks, assuming weather cooperates and the sequence ahead of us (framing, WRB) is actually ready.
Given how much rain we get here, we build some schedule flexibility into new-construction jobs rather than promising a fixed date regardless of weather. Setting windows into wet framing, or flashing over a soaked WRB, is exactly the kind of shortcut that causes the problems we're trying to avoid in the first place.
Why a Bellingham Crew That Already Works South Hill Matters
A window crew that mainly works replacement jobs in mild climates, or one flown in from outside the area, doesn't carry the same working knowledge of how a hillside lot up here behaves in a January storm, or how Whatcom County's building department wants flashing details documented at inspection. We work new construction in this specific area regularly, which means we already have working relationships with local builders, an understanding of how South Hill's exposure differs from lower, more sheltered parts of town, and a track record with the inspectors who sign off on this work.
That local familiarity shows up in small but real ways — knowing which elevations need the most conservative flashing detail because they take the worst of the wind-driven rain, knowing how long moss and algae growth takes to establish on north- and west-facing walls up here, and knowing how to sequence around a Bellingham winter instead of a generic construction calendar.
If you're planning a new build or major addition on South Hill and want windows handled by a crew that treats the flashing and rough-opening details as seriously as the window itself, we're happy to walk your plans and give you a straightforward, no-pressure estimate. There's a form below — reach out and we'll go from there.