 Bellingham Window
 Installation Is What Determines Whether Edgemoor Siding Lasts
Edgemoor is one of the more demanding spots in Bellingham to get a siding job right. Homes here sit close to Bellingham Bay under heavy, mature tree cover, which means salt-laden marine air, wind-driven rain, and long stretches of shade all act on the same walls at once. In a drier or more open part of Whatcom County, a mediocre installation might go unnoticed for a decade. In Edgemoor, the gap between a correct installation and a rushed one shows up fast — often within a couple of wet seasons, as staining, softness at the bottom courses, or moss that keeps coming back no matter how often it's washed off.
This page is specifically about siding installation — new work and full re-siding — for homes in Edgemoor, not general repair or patchwork. We install James Hardie fiber cement exclusively, and everything below assumes that system, since it's the only one we install to spec on homes in this neighborhood.
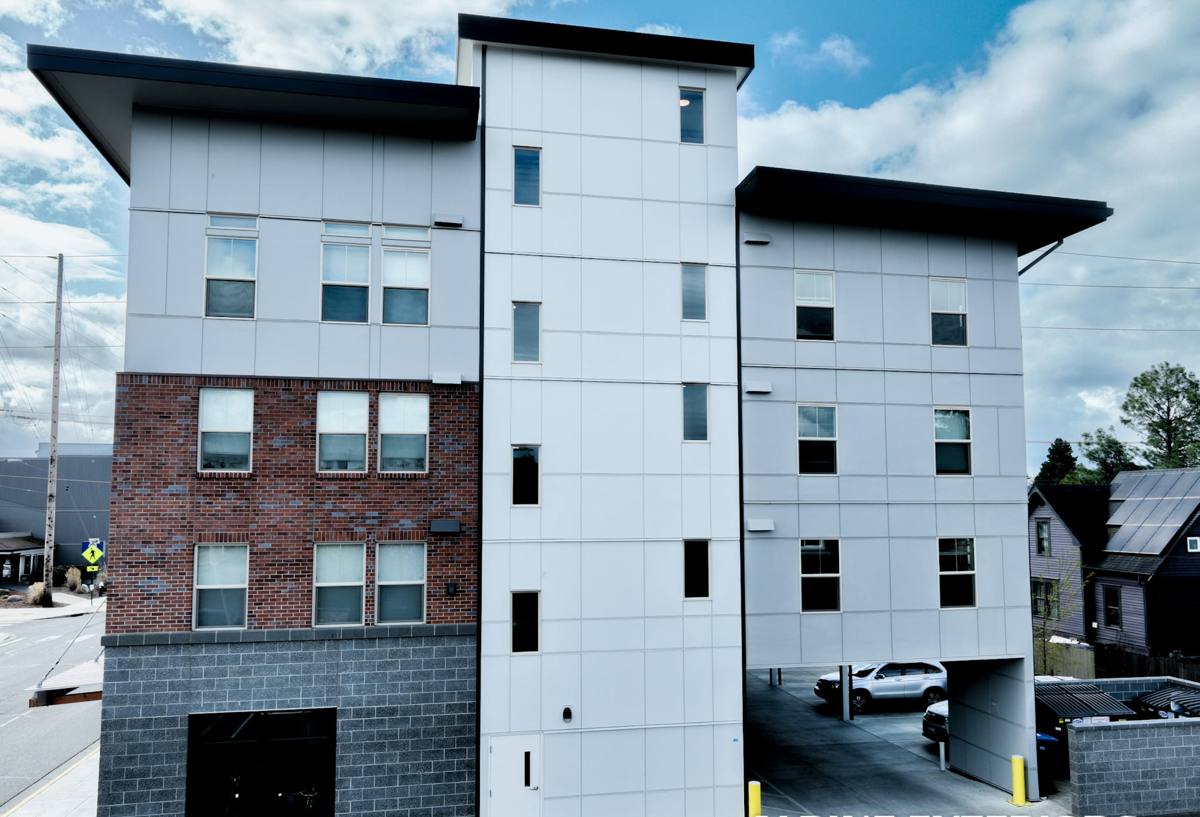
What Edgemoor's Climate Demands From an Installation
Salt Air and Corrosion
Air moving off Bellingham Bay carries a mild but steady salt content, and it settles on exterior surfaces day after day rather than just during the occasional storm. Over years, that exposure works on fasteners, flashing, and trim hardware faster than it would on a home further inland. An installation that uses standard-grade fasteners instead of corrosion-resistant hardware is making a decision that shows up later as rust streaking, loosened trim, or staining that bleeds down the face of the siding.
Driving Rain and the Water-Resistive Barrier
Storms coming off the water don't just fall straight down — wind pushes rain sideways into panel joints, window flashing, and the seams where trim meets field siding. The water-resistive barrier underneath the siding, and how carefully it's lapped and sealed at every seam and penetration, matters as much as the visible material itself. A correctly installed barrier sheds wind-driven water before it ever reaches the sheathing; a rushed one just gives water a path in that nobody notices until there's damage behind the wall.
A Long Moss Season and the Need for Airflow
Between the bay's humidity and Edgemoor's heavy tree canopy, many walls here rarely get a long, uninterrupted dry stretch for much of the year — especially on north-facing or shaded sides of the house. That's exactly the environment moss and algae need to establish and spread. Installation detail affects that more than most homeowners expect: proper clearance at the base of the wall, correct drainage-plane detailing, and siding that isn't crammed tight against trim all give a wall a real chance to dry out between wet spells instead of staying damp continuously.
What a Correct James Hardie Installation Actually Involves
Fastening and Spacing
James Hardie publishes exact fastener type, spacing, and placement requirements, and they differ by product line and exposure level. Following that spec precisely — not an approximate version of it — is what keeps panels secured through coastal wind loads and what keeps the manufacturer's warranty valid if a problem comes up down the road.
Clearances Above Grade and Rooflines
Hardie specifies a minimum clearance between siding and grade, roofing, decks, and other horizontal surfaces. That clearance exists to keep the bottom edge of the siding out of standing water and splash-back, which is a common failure point on older homes where soil or landscaping has built up over time, or where a deck or patio was added after the original siding went in.
Flashing at Every Penetration
Windows, doors, hose bibs, vents, and light fixtures all interrupt the plane of the siding, and every one of those interruptions is a place water can get behind the cladding if it's flashed incorrectly. This is the slowest, least visible part of an installation, and it's usually what separates a wall that stays dry behind the siding for decades from one that starts trapping moisture within a few seasons.
Field-Cut Edges
Any time a panel is cut on site — around a window, at a corner, at the end of a run — that cut edge needs to be sealed or primed to Hardie's specification before it goes up. An unsealed field cut is one of the more common places fiber cement actually takes on water, and it has nothing to do with the material being flawed — it's a finishing step that got skipped.
Why We Install Only James Hardie Fiber Cement
We install one siding system, not a menu of options, because in a climate like Edgemoor's the material matters as much as the workmanship. James Hardie fiber cement is non-combustible, holds up to repeated wet-dry cycling without swelling or warping, and is available in HZ product lines engineered specifically for wetter regions like the Pacific Northwest. The factory-applied ColorPlus finish is baked on under controlled conditions, so it resists fading and holds its color through years of marine exposure without the repainting cycle that wood siding requires.
We don't install vinyl, LP SmartSide, Cemplank, Allura, primed spruce, or cedar, and we're straightforward about why. Vinyl expands and contracts with temperature swings and can crack or warp on impact, which isn't something we're comfortable standing behind on a shaded, damp lot. Engineered wood products and primed spruce depend on an intact factory coating — the moment that coating is nicked or worn through, moisture works into the substrate underneath. Cedar looks good the day it goes up, but it needs an ongoing staining or sealing schedule to keep performing, and in a shaded, humid neighborhood like Edgemoor that maintenance demand only gets heavier over time. None of these are bad products everywhere — they're just not what we've found holds up best here, and we'd rather install one system correctly than several adequately.
Comparing Siding Materials for an Edgemoor Home
| Material | Moisture / Moss Behavior | Ongoing Maintenance | Our Take for This Setting |
|---|---|---|---|
| James Hardie fiber cement | Dimensionally stable; won't swell, rot, or warp | Low; factory finish resists fading and staining | What we install and stand behind |
| Vinyl | Won't rot, but can trap moisture behind panels in shaded, damp walls | Low upfront, but seams and edges stay damp longer under tree cover | Not installed by our crew |
| Cedar / primed wood | Absorbs and releases moisture readily; vulnerable once finish wears through | High; needs regular refinishing, especially on shaded walls | Not installed by our crew |
| Engineered wood (LP-type) | Wood-based core is moisture-sensitive at cut edges and joints | Moderate to high; edge damage needs prompt repair | Not installed by our crew |
Our Installation Process, Step by Step
- Exposure assessment — we walk the property and note which walls face the bay directly, which sit under heavy shade, and where past staining or moss buildup points to a chronic moisture problem rather than a one-time issue.
- Tear-off and sheathing inspection — old siding comes off and the sheathing underneath gets inspected before anything new goes up; we don't cover up hidden rot.
- Repair before cover-up — any damaged sheathing or framing gets addressed at this stage, even if it adds time to the schedule.
- Water-resistive barrier — a continuous barrier goes on with proper overlap and sealed seams at every penetration.
- Flashing installation — windows, doors, and every wall penetration get flashed before siding covers them.
- Siding installation to manufacturer spec — panels are fastened, clearanced, and jointed exactly to Hardie's published requirements, with field cuts sealed as they're made.
- Trim and finish touch-up — trim work is completed and any factory finish touch-up is applied where needed.
- Final walkthrough and warranty registration — we review the completed job with you, explain basic care for this climate, and register the manufacturer warranty in your name.
Signs Your Siding May Already Be Failing
- Moss or algae staining that returns within weeks of being cleaned off
- Soft, spongy spots at the bottom edges of boards, corners, or below windows
- Paint or finish that's bubbling or peeling rather than fading evenly
- Visible warping, cupping, or widening gaps between boards
- A noticeable draft or an unexplained jump in heating bills
- Cracked boards, especially after a cold snap
Any single item on this list might just need a repair. Several at once, especially on the bay-facing or shaded side of the house, usually means the water management behind the siding has been compromised for a while, and a full re-side is likely the more durable fix.
Cost and Timeline Factors for an Edgemoor Project
| Factor | Why It Matters |
|---|---|
| Home size and number of stories | More square footage and taller walls mean more material, more staging, and more labor hours |
| Sheathing condition underneath old siding | Rot or water damage found during tear-off adds repair scope that can't be priced until the old siding is off |
| Trim and architectural detail | Homes with more windows, dormers, or roofline transitions require more flashing and cutting work |
| Site access | Mature trees, slopes, and waterfront-adjacent lots common in Edgemoor can affect staging and scaffolding |
| Product line and finish selection | James Hardie offers multiple panel styles, textures, and ColorPlus finishes at different price points |
We don't install new siding over an existing layer. It's sometimes offered elsewhere as a shortcut, but it hides the sheathing from inspection and typically just buries a problem instead of solving it — which works directly against everything correct water management is supposed to accomplish.
Caring for New Siding in a Shaded, Marine Setting
Fiber cement is low-maintenance compared to wood, but "low" isn't "none" this close to the water and under tree cover. A periodic rinse-down clears salt residue and airborne debris before it builds into staining. Keeping gutters and downspouts clear of leaf litter matters more here than in a lot of neighborhoods, since clogged gutters send water sheeting down the wall and feed the moss that thrives in shaded, damp conditions. Trimming back vegetation that's grown in close to the house improves airflow and shortens how long walls stay wet after weather moves through. Beyond that, the factory finish means you're not on a repainting schedule the way wood requires — occasional caulk touch-up at trim joints is typically the extent of it.
Why a Crew That Already Works in Edgemoor Matters
Two homes on the same short stretch of road in Edgemoor can have genuinely different exposure profiles — one taking direct wind off the bay, another shaded most of the day by a mature tree canopy. A crew that regularly installs siding in this neighborhood already understands that variation and adjusts fastener choice, drainage detailing, and staging wall by wall instead of applying one generic approach to the whole house. That familiarity extends to permitting through the City of Bellingham and Whatcom County, and to working carefully around established trees and landscaping that homeowners here have often spent years cultivating.
A Simple Checklist Before Hiring for Siding Installation Here
- Ask what siding material they install and why, and whether it carries a written, transferable warranty
- Confirm current Washington contractor licensing and active liability insurance
- Ask how they handle bay-facing walls that take direct wind-driven rain versus shaded, tree-covered elevations
- Ask about specific experience with marine-exposed, moisture-heavy properties, not just general remodeling
- Get a clear, written scope of work and timeline before signing anything
If you're planning new siding for an Edgemoor home, or want a straightforward second opinion on whether an existing installation was done correctly, we're glad to walk the property with you. Use the form below to request a free, no-pressure estimate.