 Bellingham Window
 Windows Built for Birch Bay's Coastal Conditions
Birch Bay sits right on the water, and that changes what a window has to survive compared to a house a few miles inland in Bellingham. Salt-laden air corrodes hardware and finishes faster. Wind-driven rain off the Strait pushes water sideways into gaps that would stay dry on a more sheltered lot. And the long gray stretch from fall through spring keeps every north-facing wall damp enough for moss and mildew to take hold. A window package that works fine in a dry inland climate can fail early out here if it wasn't selected and installed with that exposure in mind.
This page is specifically about custom window installation for Birch Bay properties — what the local conditions demand, what a correct job looks like, and how our process is built around this stretch of Whatcom County.
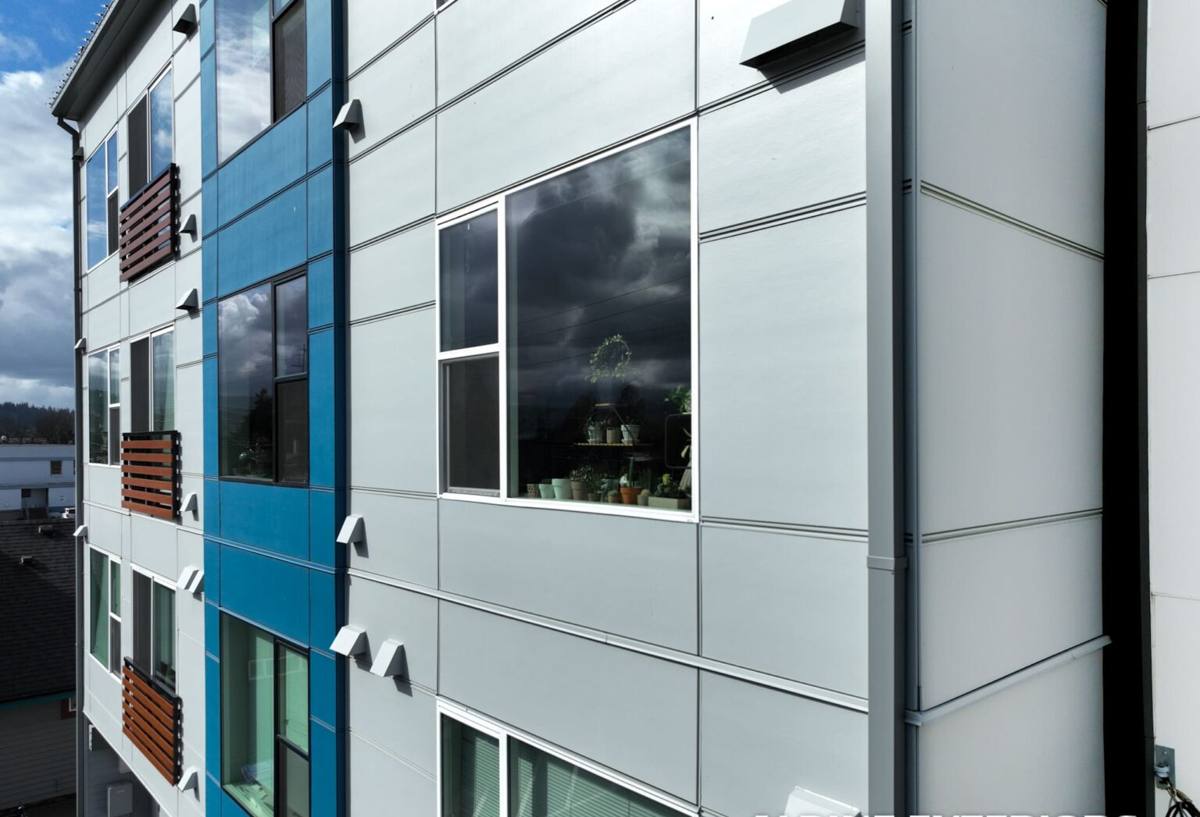
What Birch Bay Homes Are Up Against
Three things drive most of the window problems we get called out for in this area:
- Salt air corrosion: Aluminum hardware, uncoated fasteners, and cheaper cladding finishes break down faster this close to saltwater. Corrosion usually shows up first at hinges, locks, and screen frames.
- Driving rain: Storms coming off the water hit windows at an angle, not straight on. That means flashing and sill pan details matter more here than they do on a protected inland wall — water is being pushed toward the gaps, not just falling past them.
- Moss and moisture cycling: Shaded and north-facing walls stay damp for long stretches during our wet season. Wood trim and sills that aren't sealed and detailed correctly hold that moisture and start to rot from the inside, often before it's visible from outside.
None of this means custom windows are a bad idea for a Birch Bay home — it means the material choice, the flashing detail, and the sealant work all need to account for a shoreline exposure rather than a generic install.
Choosing the Right Window Materials for This Exposure
There's no single "best" window material for every house — it depends on your home's style, budget, and how exposed the wall is to weather. Here's how the common options actually perform in a salt-air, high-rain environment:
| Material | Salt-air performance | Maintenance | Notes |
|---|---|---|---|
| Vinyl | Good — won't corrode or rust | Low | Budget-friendly; quality varies a lot between manufacturers |
| Fiberglass | Very good — dimensionally stable, resists corrosion | Low | Handles temperature and moisture swings well; higher upfront cost |
| Wood (clad exterior) | Depends entirely on cladding and detailing | Moderate to high | Classic look, but the exterior cladding and sill flashing have to be done right or moisture gets behind it |
| Aluminum | Poor without marine-grade coatings | Moderate | We steer most Birch Bay clients away from bare aluminum frames given the corrosion risk this close to the water |
We're not going to tell you a product is "junk" — every material has a place. But for a house sitting exposed to salt air and driving rain, we'll walk you through the honest trade-offs (corrosion resistance, upkeep, warranty terms, and how forgiving the installation is) rather than just pushing whatever's cheapest or whatever we happen to stock.
Hardware and Fasteners Matter as Much as the Frame
A good frame with corrosion-prone hardware is still a weak point. In coastal installs we spec stainless or coated fasteners and hardware rated for marine or near-marine exposure, not standard-grade parts. It costs a little more up front and saves you a stuck lock or a rusted hinge streaking the siding in a few years.
What a Correct Custom Window Install Involves
Whether you're replacing old windows or adding new openings, the parts of the job that actually determine whether it holds up are mostly invisible once it's done:
- Rough opening inspection: Checking the framing and existing sheathing for rot or water damage before anything new goes in — this is common on older Birch Bay homes that have taken decades of coastal weather.
- Sill pan flashing: A sloped, sealed pan under the window so any water that does get past the frame drains back outside instead of sitting on the sill.
- Window flashing integration with the water-resistive barrier: The flashing has to be shingled correctly into the house wrap or building paper — top piece over the sides, sides over the sill pan — so water sheds down and out, never behind the siding.
- Sealant selection: Not every caulk holds up to sustained UV and salt exposure. We use sealants rated for the exposure, applied where they belong — and not used as a substitute for proper flashing.
- Interior and exterior trim finishing: Sealed, primed, and finished so moisture can't wick into end grain or gaps.
Skipping or rushing any one of these is usually what's behind the "window leak" calls we get on homes that are only a few years old.
Our Process, Start to Finish
1. On-Site Assessment
We look at your existing windows, the wall assembly where visible, and the specific exposure of each elevation. A window on the water side of your house needs different detailing than one tucked under an eave on the leeward side.
2. Material and Product Selection
We talk through frame material, glazing options, and hardware based on your budget and how exposed that wall is — not a one-size-fits-all recommendation.
3. Written Scope and Timeline
You get a clear scope of work before anything starts: what's being removed, what flashing and sealant details are included, and a realistic timeline that accounts for our weather.
4. Removal and Opening Prep
Old windows come out carefully so we can actually inspect the framing underneath. If there's hidden rot or water damage, we flag it and price the repair separately before proceeding — no surprises buried in a change order later.
5. Installation with Proper Flashing
Sill pan, flashing, and sealant work done in the correct order, every time — this is the step that actually determines whether the window performs in a coastal storm.
6. Final Trim, Cleanup, and Walkthrough
Interior and exterior trim finished, site cleaned up, and we walk the job with you before calling it done.
Common Window Problems We See in Birch Bay
- Corroded hinges and locks on older aluminum-frame windows facing the water
- Soft or rotting sills and trim where sealant failed and moisture got behind the cladding
- Condensation or fogging between panes on older double-pane units — a sign the seal has failed
- Moss and black staining on window trim and sills on shaded, north-facing walls
- Drafts and water intrusion at window corners where flashing was never properly integrated in the original build
If you're seeing any of these, it's worth having someone actually open up the trim and look at what's happening underneath rather than just caulking over the symptom.
Cost Factors for Custom Windows in This Area
Every project is different, but the main things that move the price on a Birch Bay job are:
| Factor | Why it matters here |
|---|---|
| Frame material | Fiberglass and higher-grade vinyl cost more than basic vinyl but hold up better to salt air |
| Number of water-exposed elevations | Wall-facing windows need more careful flashing work than sheltered ones, which affects labor time |
| Existing damage found during removal | Rotted framing or sheathing behind old windows is common on older coastal homes and adds repair scope |
| Custom sizing or shapes | Non-standard openings cost more than stock sizes, regardless of location |
| Glazing package | Upgraded glass for sound, heat, or UV performance adds cost but can be worth it on exposed elevations |
We'll give you a real number after we've actually looked at your windows and openings — not a phone estimate. Broadly, custom window projects in this area run from a few thousand dollars for a single opening to well into five figures for a whole-house replacement, depending on the factors above.
Why a Crew That Already Works Birch Bay Matters
A contractor who works this shoreline regularly already knows which elevations take the worst of the weather, which older building styles in the area tend to have flashing shortcuts from their original construction, and how to sequence a job around our wet season instead of getting caught mid-install by a storm off the water. That's not something you get from a crew that mostly works dry, sheltered lots inland and treats every coastal job as a one-off. We're based in Bellingham and work Whatcom County's coastal communities regularly, so the detailing decisions on your project come from repeat experience with this exact exposure, not a generic install checklist.
Maintenance Checklist for Coastal Windows
Once your new windows are in, a little upkeep goes a long way in a salt-air environment:
- Rinse frames and hardware periodically to remove salt buildup, especially on water-facing walls
- Lubricate locks and hinges annually with a product rated for exterior/marine use
- Check and re-seal caulk lines where they show cracking or gaps, before the next wet season
- Clear moss and debris from sills and tracks on shaded walls so moisture doesn't sit against the frame
- Watch for condensation between panes — it means a seal has failed and the insulating gas has escaped
- Keep gutters and downspouts clear so roof runoff isn't sheeting down across upper windows
If your Birch Bay home has windows showing their age — or you're planning a remodel and want the openings done right the first time — we're happy to come take a look. Fill out the form below for a free, no-pressure estimate.