 Bellingham Window
 Why Birch Bay Siding Wears Differently Than Homes Further Inland
Birch Bay sits right on the water, and that changes the math on how siding ages. Homes a few miles inland in Whatcom County deal with plenty of rain, but Birch Bay adds salt-laden air, near-constant wind off the water, and a longer stretch of damp, low-sun months where moss and algae get a real foothold. That combination is harder on siding than straight rainfall alone. Salt air accelerates corrosion on fasteners and trim metal, wind-driven rain finds gaps that would stay dry on a more sheltered lot, and moss holds moisture against the wall long after a storm passes.
None of this means Birch Bay homes need exotic materials or babying. It means the repair work has to account for a coastal exposure, not a generic one. A patch that would hold up fine on a home in a wooded, inland neighborhood can fail fast on a home a block from the water if it isn't detailed for the wind and salt.
Signs Your Siding Needs Repair, Not Just a Repaint
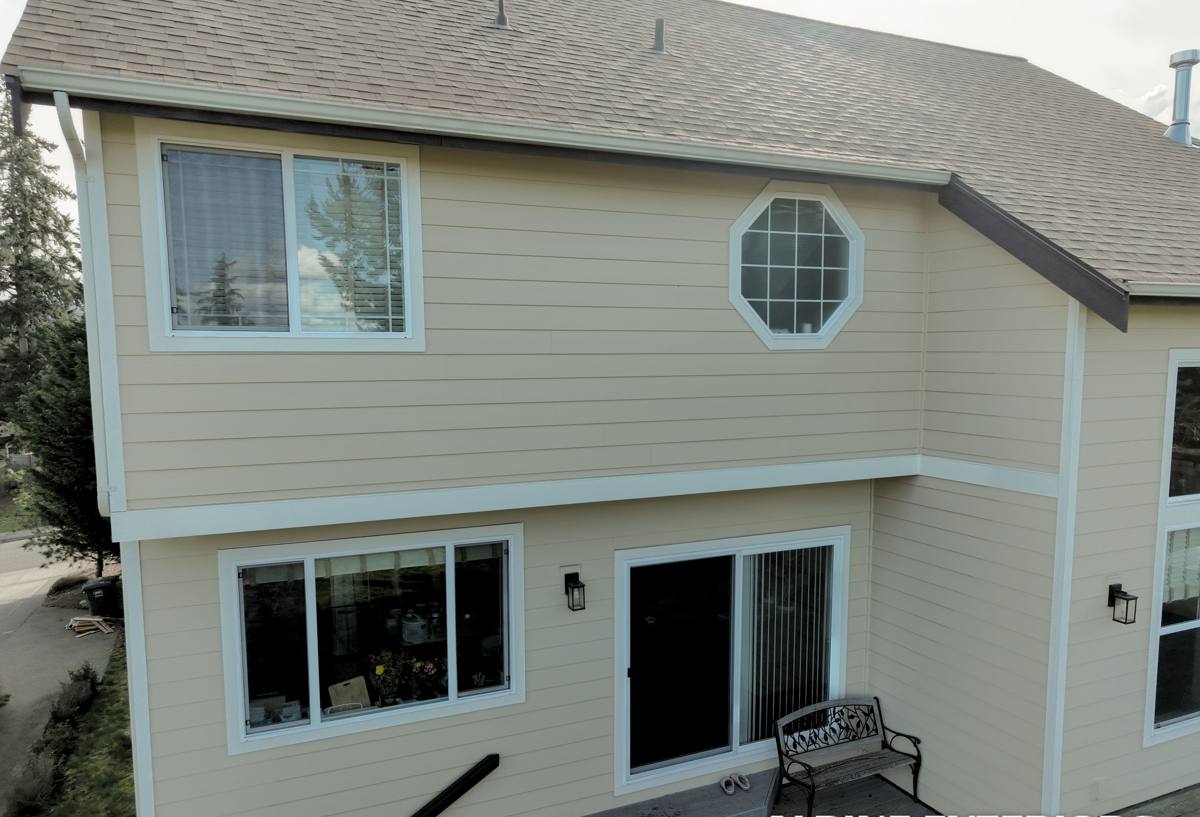
Homeowners often call about paint that looks tired, and paint is sometimes the whole story. But on a Birch Bay home, surface staining is frequently a symptom of something underneath — a failed seam, a soft spot, or moisture that's been sitting against the wall since the last wet season. Before booking a repaint, it's worth having someone check for the signs below, since painting over an active problem just hides it for another year.
- Boards that feel soft, spongy, or flex when you press on them
- Visible buckling, bowing, or waviness across a section of wall
- Paint that's peeling, bubbling, or cracking in one localized area rather than evenly across the whole house
- Gaps opening up at butt joints, corner boards, or where siding meets trim
- Dark streaking, green or black staining, or a persistent musty smell near an exterior wall
- Moss or algae buildup that keeps coming back within a season of cleaning
- Rust streaks below fasteners or trim, common where salt air is a factor
- Cracked or split boards near corners, window trim, or low on the wall near grade
Any one of these can be minor. Several showing up in the same area, especially on a wall that faces the prevailing wind and rain, usually means water has been getting behind the siding for a while.
What a Correct Siding Repair Actually Involves
It Starts Behind the Siding, Not on the Surface
A repair that only addresses what's visible from the driveway isn't a repair — it's cosmetic work that buys a season or two. Once boards are pulled in the damaged area, the sheathing, house wrap, and flashing underneath need to be inspected. If water has been getting in, there's often a specific reason: a flashing detail that was never installed correctly, a caulked joint that should have been flashed instead, or trim that was fastened tight against a wall with no drainage path. Repairing the siding without fixing that entry point means the same damage shows up again in the same spot.
Matching Materials and Finish
Replacement boards need to match the existing siding's exposure, profile, and thickness so the new section doesn't read as a patch from the street. Where the original siding is a factory-finished product, matching the finish system matters as much as matching the board — mismatched paint sheens and colors are one of the most common complaints homeowners have after a repair done by someone who wasn't careful about it.
Fastening and Sealant Choices That Fit a Coastal Site
For a wind-exposed, salt-air location like Birch Bay, fastener corrosion resistance and correct nailing patterns aren't optional details — they're the difference between a repair that lasts and one that starts rusting and staining within a couple of years. The same goes for sealant: the right product in the right joints, not caulk used as a substitute for flashing.
Repair or Replace? How to Think About It
Not every damaged section needs a full re-side, and not every repair is worth doing on its own. The table below covers the factors that usually decide it.
| Factor | Repair Usually Makes Sense | Replacement Usually Makes Sense |
|---|---|---|
| Extent of damage | Isolated to one or two wall sections | Showing up across multiple elevations |
| Age of existing siding | Siding is well within its service life | Siding is near or past its expected lifespan |
| Cause of damage | One-time event (impact, isolated flashing failure) | Systemic issue (original installation defects, chronic moisture) |
| Material match | Matching product and finish are readily available | Original product is discontinued or hard to match well |
| Underlying sheathing | Sheathing and wrap test dry and sound | Rot or moisture damage found behind multiple sections |
An honest assessment on-site is the only reliable way to answer this. Anyone quoting a full re-side without opening up the wall first — or quoting a "quick patch" without checking what's behind it — is guessing.
Why We Repair With James Hardie Fiber Cement
When a repair calls for new boards, or when the damage is extensive enough that replacement is the smarter call, we install James Hardie fiber cement exclusively. We don't install vinyl, LP SmartSide, or other engineered wood products, and we're upfront about why: fiber cement doesn't absorb water the way wood-based products can, it's non-combustible, and it holds up to the freeze-thaw and moisture cycling that a marine climate puts siding through year after year.
Hardie's factory-applied ColorPlus finish is also relevant to repair work specifically. Because it's baked on at the factory rather than sprayed on site, it resists fading and chipping better than field-applied paint — which matters when you're trying to match new boards into an existing wall and want that match to hold up the same way over time. Hardie also builds region-specific HZ product lines engineered for climate zones like ours, and backs the material with a strong transferable warranty. For a coastal Whatcom County home, that combination of moisture resistance, factory finish durability, and manufacturer backing is why we don't hedge on the material.
Our Repair Process
Every repair call follows the same sequence, whether it's one damaged board or a full elevation:
- On-site inspection — we look at the visible damage and check adjacent areas, trim, and flashing for related issues before quoting anything.
- Open and assess — where damage suggests moisture intrusion, we pull the affected siding to inspect the sheathing and wrap underneath rather than repairing blind.
- Fix the cause — flashing, house wrap, or trim details that failed get corrected, not just covered back up.
- Rebuild with matched material — new Hardie boards are cut, fastened, and finished to match the surrounding siding as closely as the situation allows.
- Final check — we walk the repair with you before calling it done, and point out anything else worth keeping an eye on.
Why a Bellingham Crew That Already Works Birch Bay Matters
Siding repair on a coastal property is a different job than the same repair five miles inland, and a crew that regularly works Birch Bay and the surrounding Whatcom County waterfront knows that going in. That means showing up with corrosion-resistant fasteners already on the truck instead of discovering mid-job that standard hardware won't hold up, knowing which flashing details tend to fail first on wind-exposed walls, and not being surprised by how much moss and algae growth is normal for the area versus a sign of a bigger moisture problem.
It also means being realistic with scheduling around the region's wet season, since repair work — especially anything that involves opening up a wall — needs a dry window to be done right. A crew based in Bellingham and familiar with local weather patterns can plan around that instead of rushing a repair into marginal conditions.
Protecting the Repair After It's Done
A correctly done repair with James Hardie siding is low-maintenance, but "low-maintenance" isn't "no-maintenance," especially this close to the water. A short annual routine goes a long way:
- Rinse salt spray and grime off the siding once or twice a year, focusing on the side facing the water
- Keep gutters clear so water isn't overflowing directly onto wall sections
- Trim back vegetation that's shading a wall and keeping it damp, which encourages moss growth
- Check caulking at trim and penetrations annually and address any cracking before it opens up
- Walk the exterior after major windstorms and check for anything knocked loose or damaged
If you're seeing soft spots, buckling, staining, or recurring moss on a Birch Bay home, it's worth getting an honest look before it turns into a bigger repair. We offer free, no-pressure estimates — use the form below and we'll take a look and tell you straight what we're seeing.